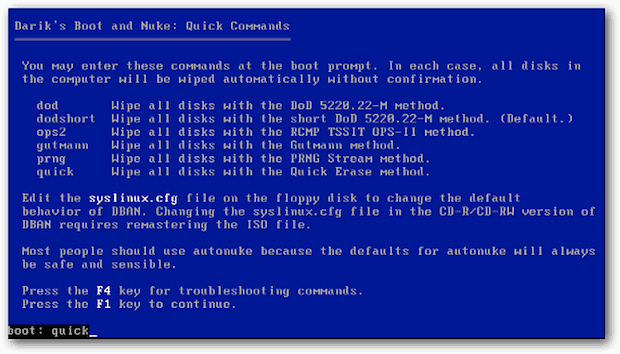
Now before you get started — take a look at our Windows 8 Keyboard Shortcut Guide. You will want to have that handy after you get the install completed. Ok ready for install? First, download the 32 or 64-bit version of Windows 8 Consumer Preview ISO file. Then burn it to a blank DVD with Windows 7 Disc Image Burner or use a third-party tool like ISO Recorder for Vista and XP. If you’re installing it on a laptop or netbook, create a bootable USB flash drive. As a best practice, I recommend installing a new operating system on a clean hard drive. If I have another OS or data stored on the drive, I blow it away using Darik’s Boot and Nuke (DBAN). This way I’m assured each sector of the hard disk is clean and ready for a fresh install.
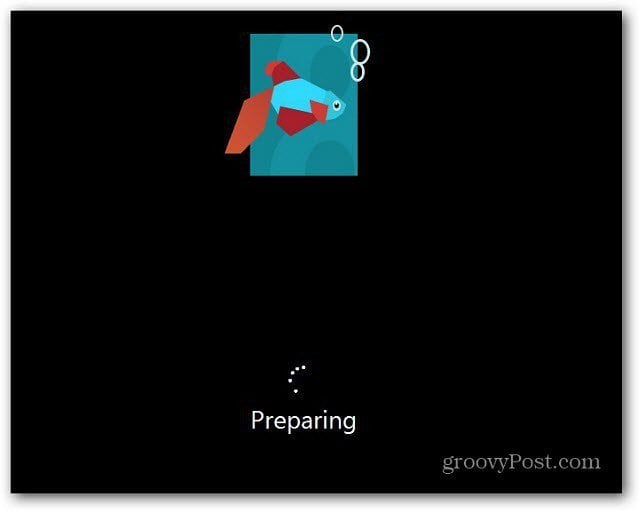
Now kick off the installation. First you’ll see a graphic of the popular beta fish Microsoft used for Windows 7. Select your language, time and currency format and keyboard input method. Notice the new groovy Windows 8 logo! Click Next.
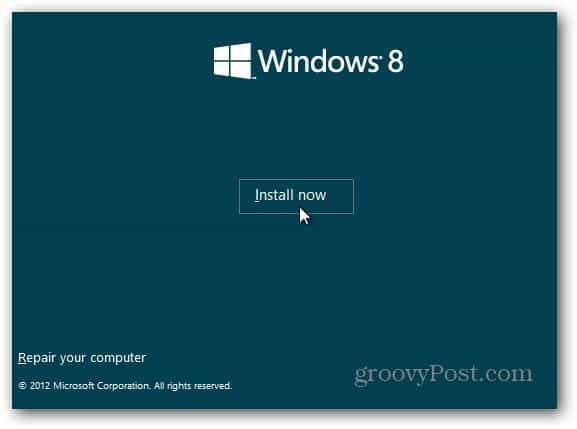
Click Install Now.
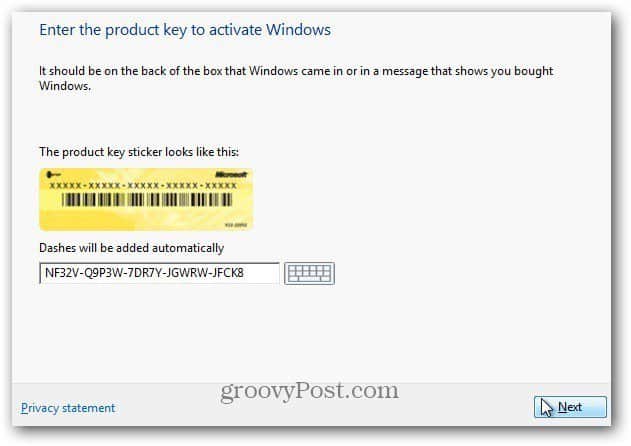
Since I’m installing this via installation media I created – a USB flash drive, it’s asking for a Product Key. You can also install it via the Windows 8 Consumer Preview Setup. Setup will scan your PC to ensure it meets the requirements to run the Windows 8 Consumer Preview. It provides a compatibility report and selects the optimized version for your system. It includes a built-in download manager too. The Consumer Setup Program automates the install process and does the work for you. We’ll be looking at installing it that way in the next few days. This beta version is free for everyone so type: NF32V-Q9P3W-7DR7Y-JGWRW-JFCK8 then click Next.
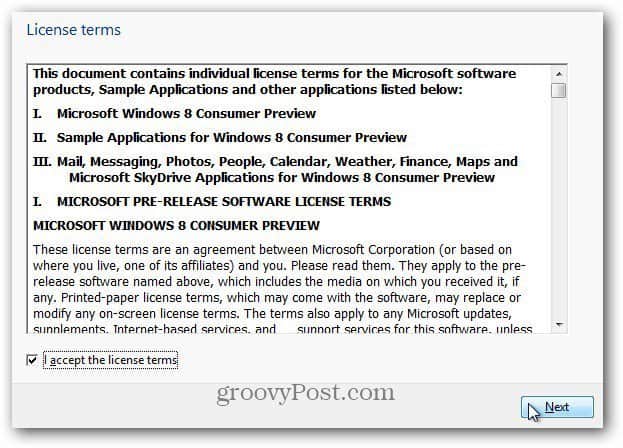
The License Terms screen comes up. I read over the EULA and no… you won’t need to send Microsoft a kidney by accepting the license. Now if this was an OS from Facebook… Anyway… Check I Accept the License Terms then click Next.
On the next screen select Custom: Install Windows Only (Advanced).
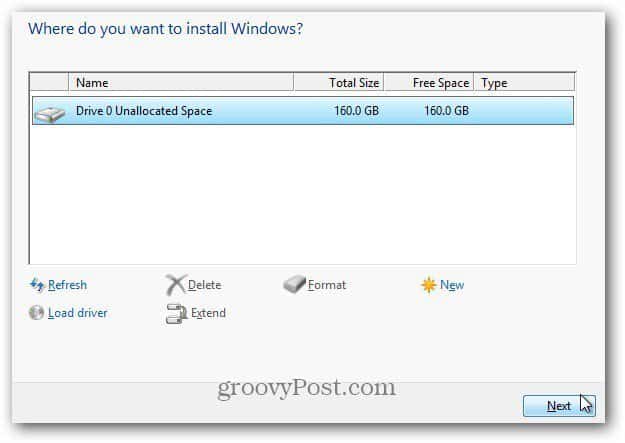
Select the hard disk you’re installing Windows 8 on. In this example I’m installing it on a netbook via a USB flash drive. I blew away the drive with DBAN, so there is no reason to use any of the drive options. Click Next.
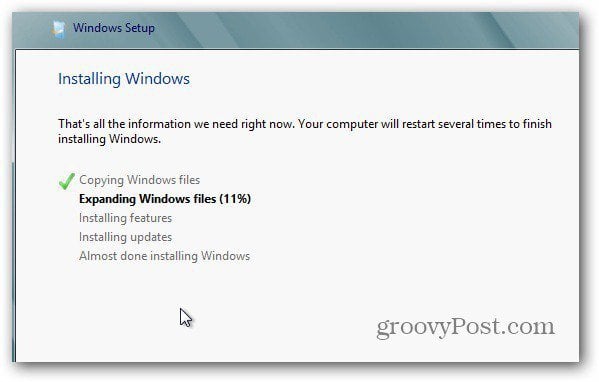
The Windows 8 starts to install. The screen looks the same as Vista and Windows 7. It will expand the files from the ISO image to the hard drive, install features, updates and a few extra steps. The amount of time it takes will vary between systems and the power of the hardware. At this point there is no user interaction needed. Just let Windows do its thing.
Remember it will restart a couple of times, don’t worry – that’s normal. Here’s an example of a few of the screen messages you’ll see.
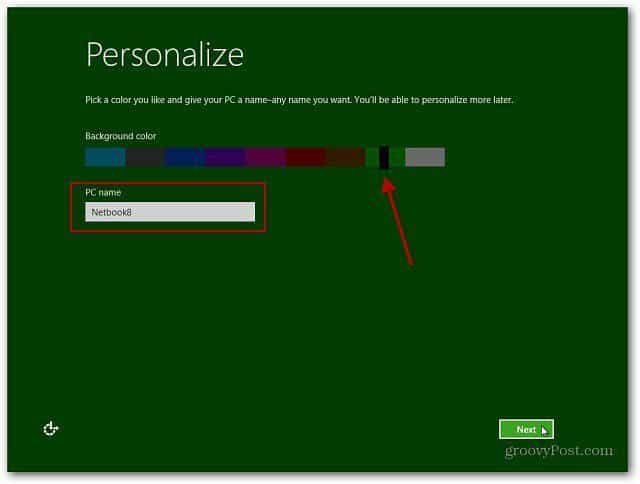
After the final reboot, you’ll be at the Personalization screen. Type in a name for your computer, chose a background color by moving the slider at the top and click Next.
Now you’re on the Settings screen. You can select Use Express Settings or Customize. The fastest way to get going is to Use Express Settings. You’ll see what the Express Setting configure. Express opts you in to automatic updates, sending Microsoft location info and more. The Express settings can be changed later, but I like control over what my OS is doing so I’m clicking Customize.
Select if you want to turn on sharing and connect to other devices on your network. Or choose not to turn it on. If you’re on a public network it’s best to turn sharing off.
Now select if you want Windows Update to automatically download updates or let you choose later. There are also other options with Internet Explorer you might want to turn off. There can be conflicts with proprietary software services at the workplace that break with IE9 filters. When in doubt just go with the defaults. When finished click Next.
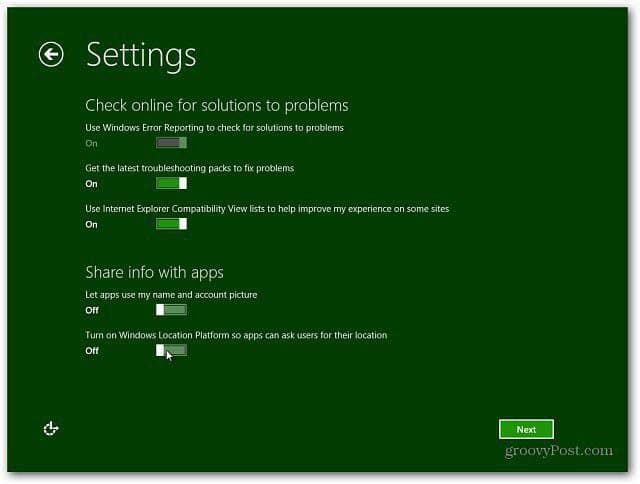
Next you’ll want to configure the settings for what information about your system is sent to Microsoft. They are all on by default if you Use Express Settings. Now you have more control over what data is sent. After making your selections click Next.
Select how you want apps to use your data. Turn off what you don’t want shared. For instance you might not want to let apps use your name and account picture.
Now you can sign in with your Windows Account (formerly called Windows Live account) or create a local login specific to your machine. The benefit of using your Windows Account is you’re able to sync your settings across multiple machines that are running Windows 8.
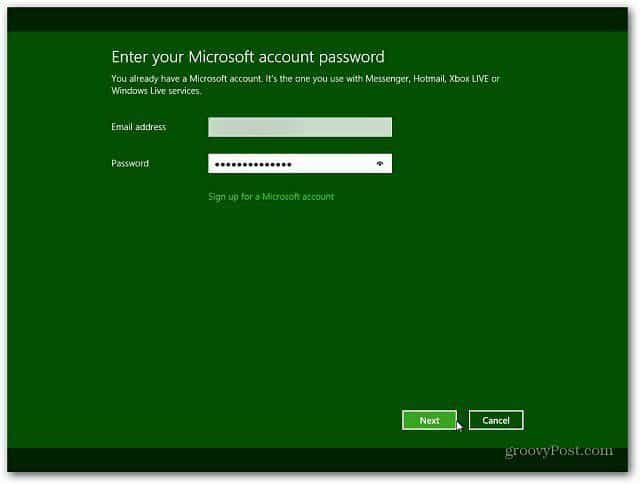
I selected to sign in with my Microsoft Account. On the next screen you’ll need to enter you password.
The next screen asks for your phone number, but it’s optional. The benefit of entering your cell number is you can get a code sent to your phone to reset your password if you forget it.
Windows 8 finalizes your settings and gets your account ready. Your automatically logged in with your Windows Account since you typed it in during the previous step.
Page 2
Pages: 1 2 @Louie, since your Laptop is able to run Vista x64, running Windows 8 won’t be a problem. The Win 8 Consumer preview is free to use. But please read the fineprint, because this is still an experimental version which can only be used for a certain period of time once Windows 8 goes RTM (Release to Manufacturer) Comment Name * Email *
Δ Save my name and email and send me emails as new comments are made to this post.


![]()
