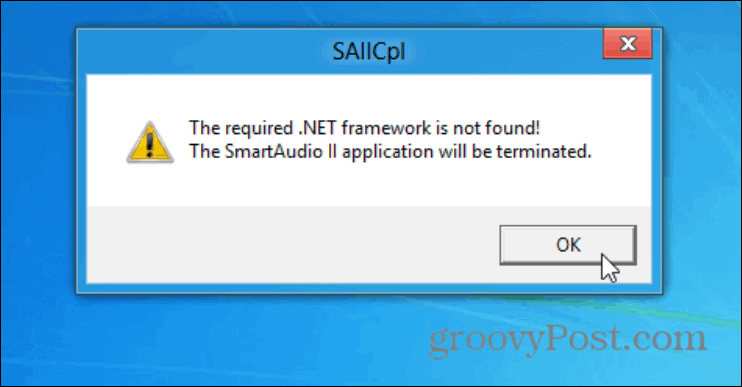
In many cases, your app might install, but it won’t launch. You may see a message letting you know that .NET Framework 2.0 is required (for example). Other times, the app won’t open at all, and you won’t know why. Even if you run the app in Compatibility Mode, you might still need the correct version of the .NET Framework installed. Here’s how to enable .NET Framework 3.5, 3.0, and 2.0 on Windows 11.
How to Enable .NET Framework 2.0 and 3.5 on Windows 11
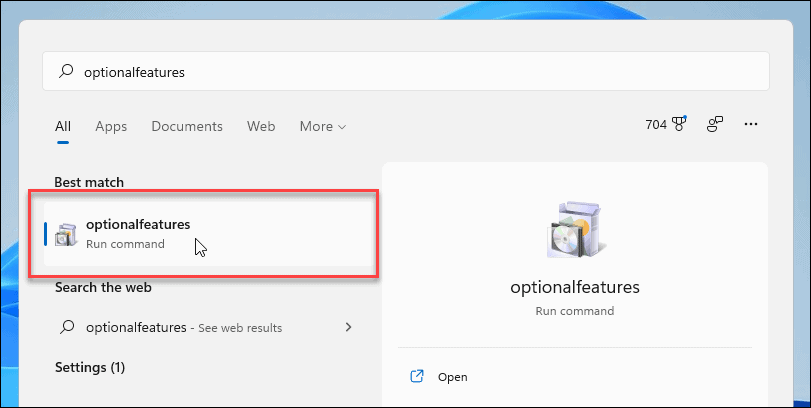
There are a couple of different ways you can enable the .NET Framework on your Windows 11 PC, but we’ll look at the easiest first. To start, press the Start button from the Taskbar or hit the Windows key on your keyboard to open the Start menu. In the Start menu, type: optionalfeatures and click the top result. Note: Make sure you’re typing optionalfeatures as one word with no spaces. Don’t click Optional Features (with spaces), as this is something entirely different.
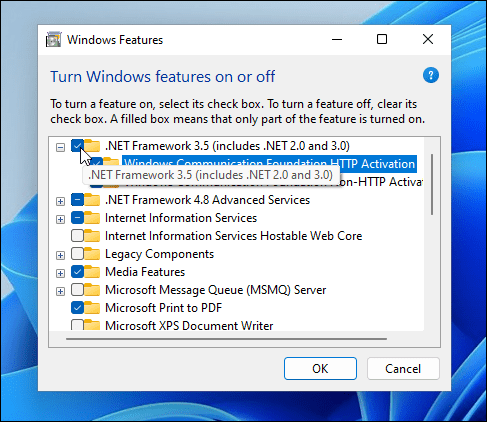
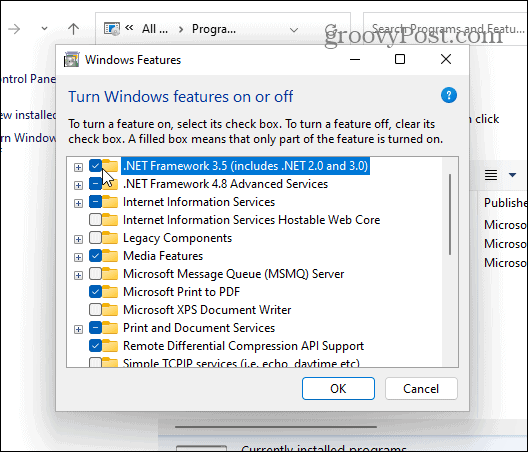
After clicking optionalfeatures, the Windows Features settings window will open up. This is where you can turn various features on or off on your Windows 11 PC. From the list, click to enable “.NET Framework (includes .NET 2.0 and 3.0)” and then click OK.
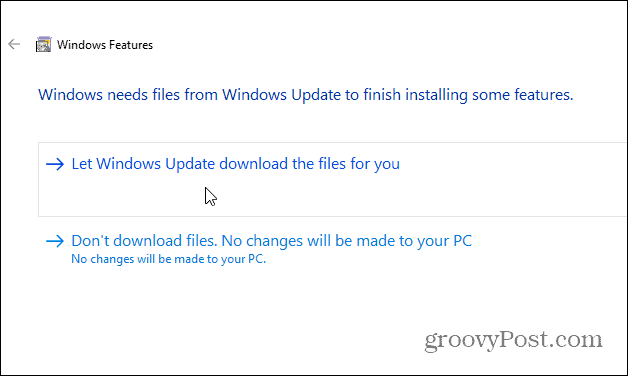
Next, a screen will pop up showing you that Windows needs to download files from Windows Update to complete the process. Click Let Windows Update download the files for you to begin.
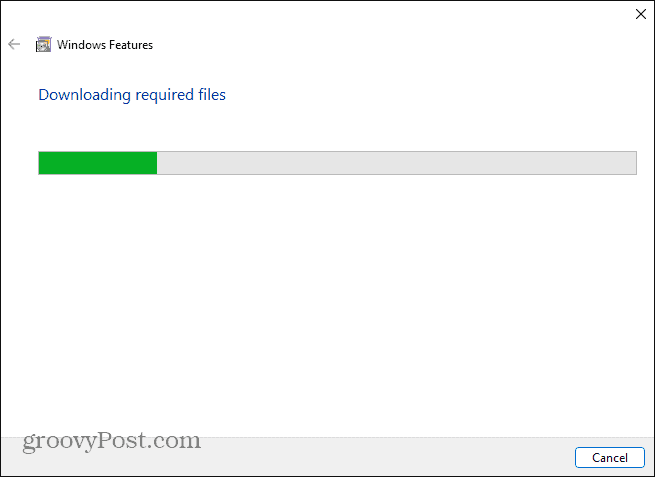
You’ll see a progress bar appear while the necessary components are downloaded and installed. Allow time for this to complete.
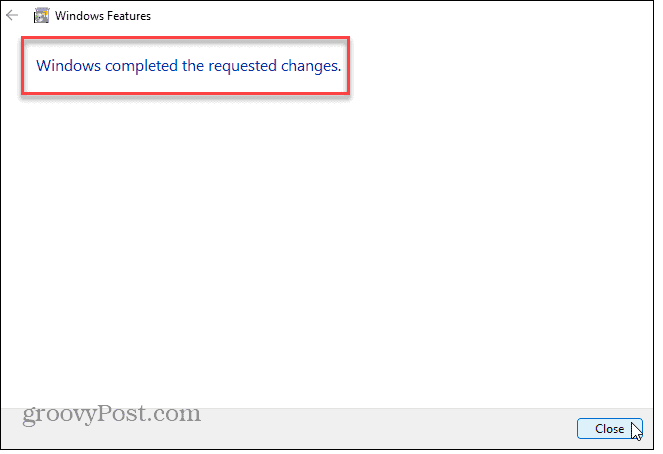
Once Windows has installed the .NET Framework, you’ll see a confirmation message (as seen in the screenshot below). Click the Close button to finish. You shouldn’t need to restart your PC, but you may want to, just in case.
Use Control Panel to Install .NET Framework
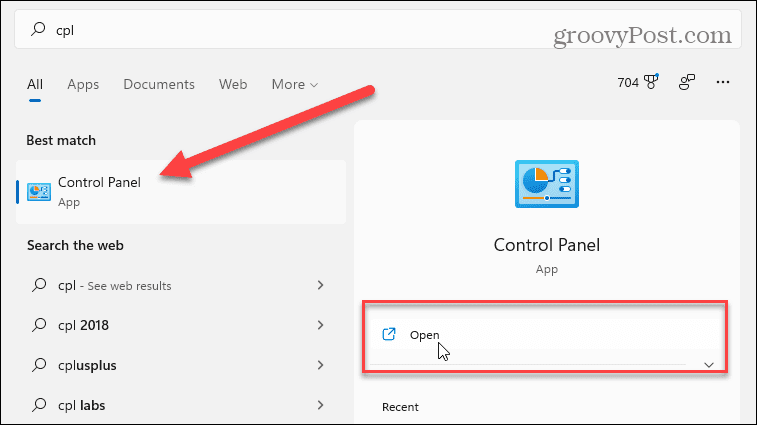
If the steps above don’t work, you can use the classic Control Panel to activate the .NET Framework on your PC. To do this, press the Windows key on your keyboard or press the Start button on the taskbar. In the Start menu, type: cpl before clicking the top Control Panel result.
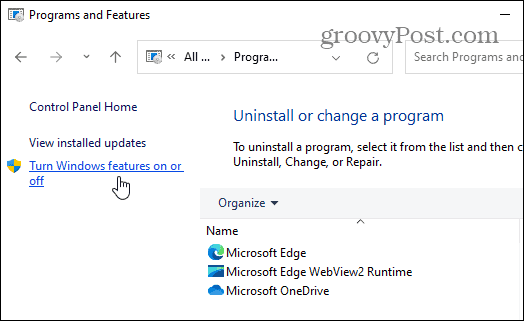
In the Control Panel window, scroll down and click Programs and Features.
Next, click Turn Windows features on or off on the left.
This opens the same Windows Features dialog box, where you can turn Windows features on or off. Click on the “.NET Framework 3.5 (includes .NET 2.0 and 3.0)” check box, then click OK and follow the onscreen instructions.
Using Older Apps on Windows 11
Enabling older versions of the .NET Framework on Windows 11 is a straightforward process—as long as you know where to look. Once you’ve followed the steps above, you can then start using older apps on your PC without switching to an older version of Windows. For more on Windows 11, check out our article on uninstalling apps or how to hide ‘Most Used’ apps on the Start menu. And if you’re on Windows 10, take a look at enabling .NET Framework on Windows 10 or 8.1. Comment Name * Email *
Δ Save my name and email and send me emails as new comments are made to this post.


![]()
