Way back when Microsoft released Windows Vista, a new feature of the OS was implemented, called the Games Explorer. You may be familiar with Vista Game Explorer Editor, but sadly enough it doesn’t work so well in Windows 7 and may even break your Windows install. To help get you started on some Friday Fun today, we will show you a great app for editing your Windows 7 Game Explorer and getting your games library clean and organized again.
Step 1 – Update Your .NET Framework Version
Before beginning any work with the program, you’ll need the latest version of the Microsoft .NET Framework. You can get .NET Framework 4 from here. Unless you know 100% that you are currently on the latest version of .NET, DO NOT SKIP THIS STEP! Updating the .NET framework is a vital step to make the Game Explorer Builder fully functional!
Step 2 – Download VGEB
Vista Game Explorer Builder is a free application that you can download from here. On the webpage you will see two versions of the editor. I highly recommend using Beta 2, because Beta 1 has some bugs and stability issues. After downloading the ZIP file, extract its content to an empty folder and put it someplace important, like C:\Program Files\VGEB\ for example.
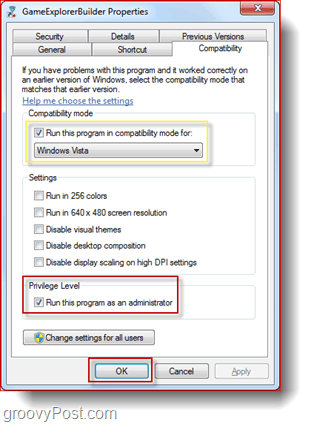
Step 3 – Setting Administrative Privileges To Game Explorer Builder
Create a Shortcut of the Game Explorer Builder executable file and then set it to run as administrator by Right-clicking it and Selecting Properties > Compatibility > Run As Administrator. Tip: Turn on Compatibility Mode set to Windows Vista if the program refuses to work
Step 4 – Creating a New Game
Open VGEB and Right-click and choose Add Game > Create Resource.
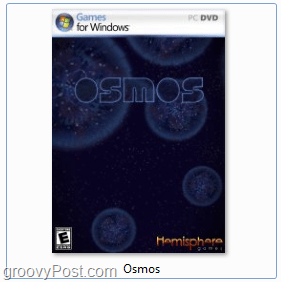
Go through all the tabs and fill out the necessary information. Not all information needs to be filled in on order for the editor to work, but the required fields are Name, Resource Output, Icon and Box Artwork. (Below: Icons and Artwork for Osmos)
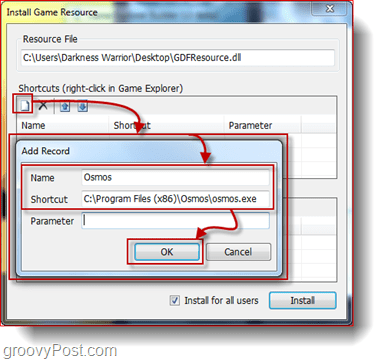
Once you’ve filled in all the necessary information you can click Create. You will be brought to another window where you’ll need to point the program to the location of the game executable and (optionally) add links for direct access to the game’s official webpage, the publisher and developers’ sites and perhaps some game forums you often visit. Click the New icon on the Shortcuts section of the window and the fill out the Name and point to the .exe file of the game.
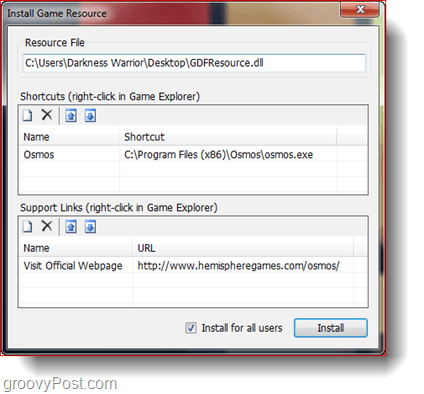
Once you’re done with everything the window should look something like this screenshot below:
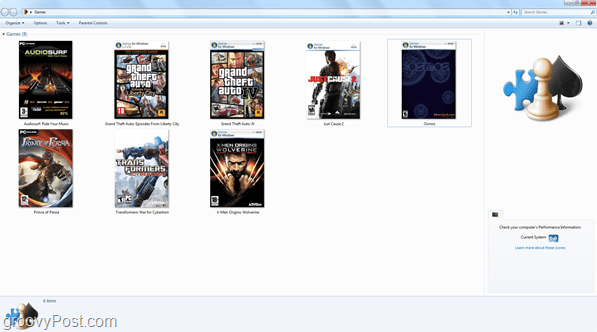
Click Install to finish everything and save it to Games Explorer. You can then open the Games Explorer (Start > Games) to view the created game resource.
You can play the game by double clicking on its icon, or access the additional websites and forums that you added (if any) by right clicking. That’s it! You can get a very clean and organized games library that will only take you 4-5 minutes to add each new game you get.
Comment Name * Email *
Δ Save my name and email and send me emails as new comments are made to this post.


![]()
