Last week we learned how to create a discreet total-computer-history erase button using CCleaner. The only problem was when Windows launched the shortcut it caused the UAC (User Account Control) security window to pop-up. Fortunately, Microsoft inadvertently included a way to bypass the UAC prompts if the shortcut is run as an administrator Task. Let’s learn how to set one up! Below we’ll walk through the process of setting up a Task in Windows that will act just like a regular shortcut, except it won’t require a UAC prompt confirmation. As an example, I’ll be setting up CCleaner to run in the background without the UAC prompt. Note: If you are already familiar with creating tasks in Windows 7 or Vista, you can probably just skip down to Step 7.
Step 1
Click the Windows Start Menu Orb and Type task scheduler into the search box. Press Enter.
Step 2
On the Task Scheduler window, Click the Action menu and Select Create Task…
Step 3
The Create Task window should automatically open to the General tab. From here Type a name into the task box. Next, Check the box labeled Run with highest privileges.
Step 4
Now SKIP the Triggers tab, go straight to the Actions tab instead. Click New… and in the New Action Window Browse to the program, you would like to create a shortcut for. Be sure to add any arguments that you might want, but those are optional.
Step 5
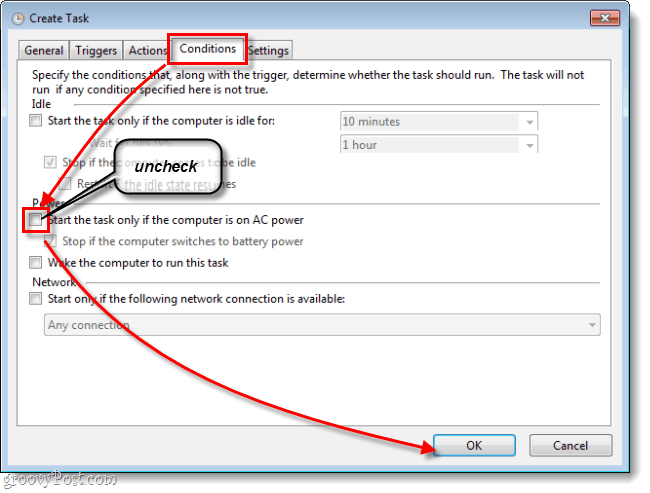
Click the Conditions tab next, and Uncheck the box labeled Start the task only if the computer is on AC power. Otherwise, this option will prevent the task from working if you are on an unplugged Laptop. Once done with this step, Click OK to save and exit the task.
Step 6
Now on any blank spot on the desktop, perform a Right-Click. From the context menu Select New > Shortcut.
Step 7
In the text box, Type in the following*: If you have trouble getting this to work, be sure to manually type the quotation (”) marks. *Replace clearhistory with whatever you named your shortcut, but be sure to keep the quotation marks around it!
Step 8
Now you just have to name your shortcut. This is the name that will show up underneath it on the desktop, start menu, or wherever you decide to place it.
Done!
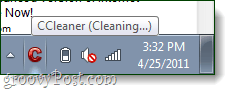
Now you have yourself a shortcut that will run whatever application you pointed it to without prompting the UAC dialog. In my example, I used CCleaner since a normal shortcut would prompt the UAC. As you can see in the screenshot below, it started right up.
Questions, comments? Drop one below! Also ensure that the boot drive for Windows has at least 1 gigabyte of drive space dedicated for easy system restores. Finally, i use freeware Cobian Backup to at least daily backup my most important files. Guaranteed, automatic, timed backups are another topic: encryption, compression, on site, off-site & removable. Comment Name * Email *
Δ Save my name and email and send me emails as new comments are made to this post.


![]()
