You can’t make bad hardware perform better, but you can tweak sound settings to boost microphone levels in Windows 10. These settings will help to improve the volume of recorded audio, but it can’t deal with excess noise or other sound issues. If you want to know how to boost microphone levels in Windows 10, you’ll need to follow these steps.
Boosting Microphone Levels in Windows Settings
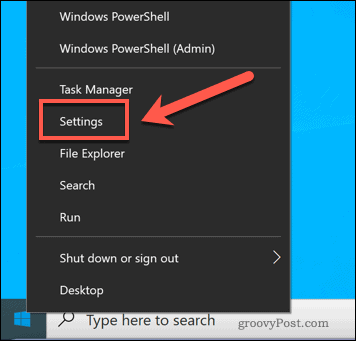
The easiest way to boost your microphone levels in Windows 10 is to use the Settings menu. This allows you to manage the input and output levels of your audio devices, including your microphone. To open the Settings menu, right-click the Start menu and press the Settings option.
In the Settings menu, press System > Sound. Under the Input section, select your microphone from the drop-down menu, then press the Device Properties button.
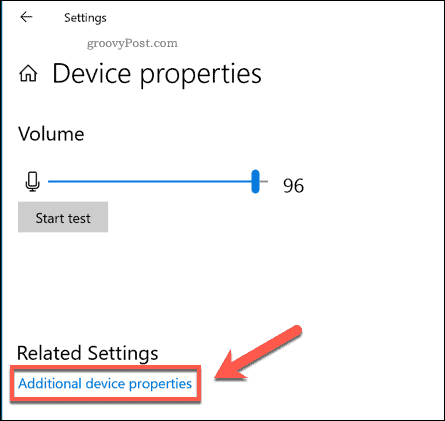
Press the Additional device properties option in the Related Settings section of the Devices Properties menu to access your microphone boost levels.
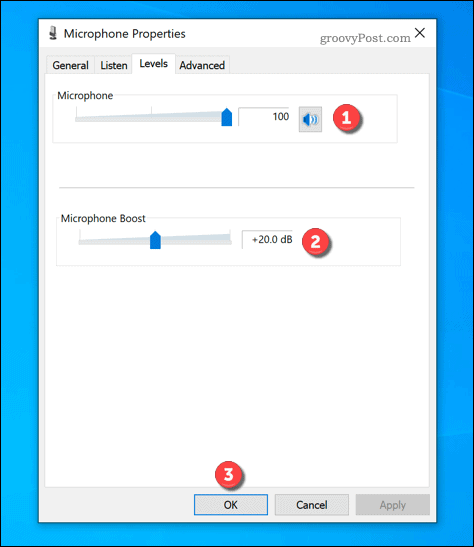
In the Microphone Properties window, press the Levels tab. You can then adjust the Microphone volume slider to 100 to ensure that the input volume is at maximum. If you want to boost microphone levels even further, move the Microphone Boost slider upwards. This should improve the volume even further, but it could also cause audio anomalies the higher you go.
Be sure to test each increase in boost levels before you next use your microphone. If you’re happy with the settings, press OK to save and apply them to your microphone.
Using Third-Party Audio Mixer Software
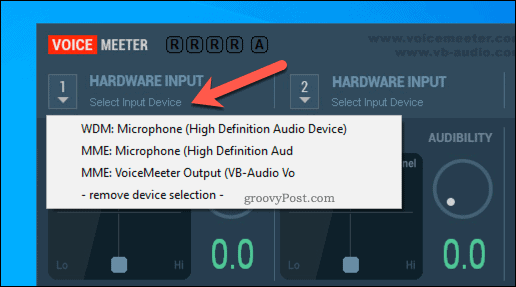
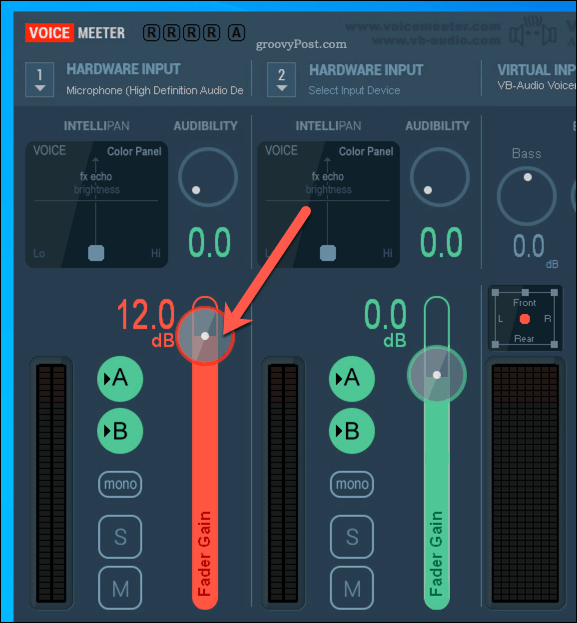
While the Microphone Boost setting in Windows 10 can improve the input levels from a microphone, the feature is quite basic. Other than replacing your microphone, another way to boost your microphone further is to use a third-party audio mixer. While several options exist, one free microphone boosting software you can use is VoiceMeeter. This is a virtual audio mixer that allows you to change the audio levels on your PC for your sound devices, including your mic. To start, download and install the latest version of VoiceMeeter on your PC. Once installed, run the app and click one of the Hardware Input options to select your microphone.
Once the microphone is selected in VoiceMeeter, you can begin to boost the levels. Move the Fader Gain slider upwards to boost the input volumes. You can do this as you use your mic, either during a recording or during a video call, to test the increase as you go.
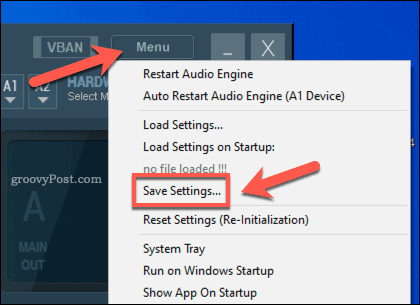
If you want to save the changes you’ve made, press Menu > Save Settings.
This will allow you to quickly load the same volume profile for your microphone any time you wish to use it.
Improving Audio Quality in Windows 10
Now you know how to boost microphone levels in Windows 10, you can begin to closely manage your audio devices, from high-end speaker systems to plug-in earphones. If you want to quickly test your mic, you can record your mic output using OneNote, although better third-party alternatives are available. If you don’t have a good enough microphone, however, then boosting sound levels won’t do much. Instead, use another piece of kit—your smartphone. For instance, you can use the built-in mic to record voice memos on an iPhone or use Android Speech-to-Text to send text messages instead.


![]()
