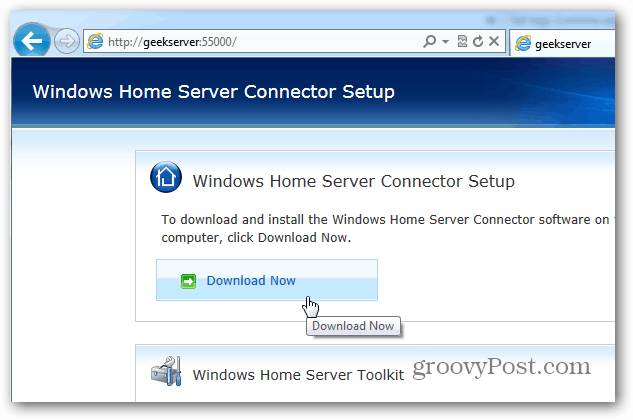
After you’ve installed and set up your Windows Home Server, it’s time to start connecting the other computers on your network. Open up Internet Explorer – other browsers work too, but IE provides the best results. Clear the address bar and type: http://[servername]:55000 – replace [servername] with the name of your server. In my example I typed: http://geekserver:55000 then hit Enter. This is connecting to the webpage from your WHS box.
The Windows Home Server Connector Setup page displays. Click the Download Now button.
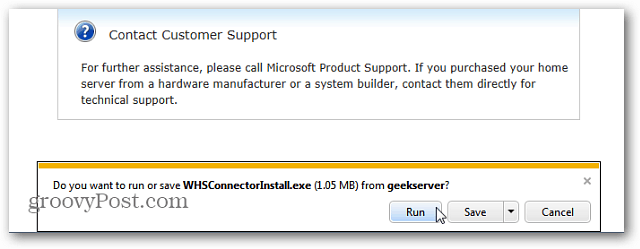
Here I’m using IE 9 so the file download option pops up at the bottom. Since the file from your server is safe and trusted, click Run. You have the option to save it too if you wish.
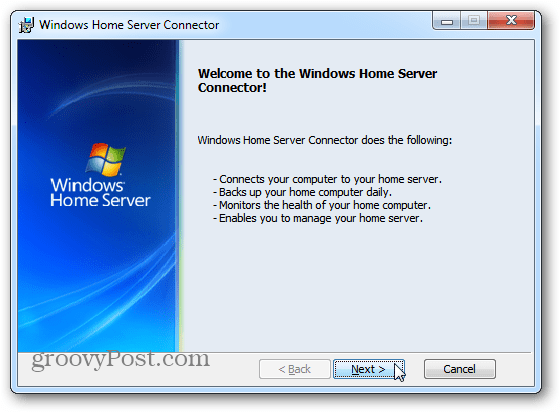
The WHS Connector wizard starts. Click Next.
Accept the EULA and click Next.
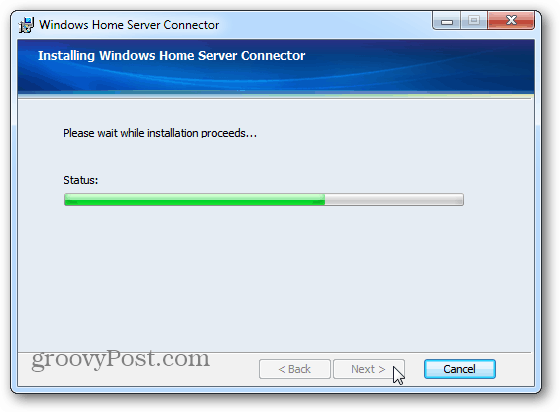
The connector will install – it just takes a few moments.
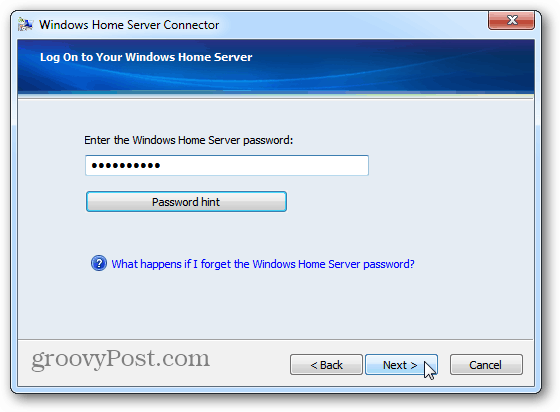
Now, type in the password you created for your home server and click Next. If you don’t remember it, click the Password Hint button and it will pop up the reminder you created when setting up your server.
Now select whether to wake up your system for backups. WHS will wake up the computer from sleep or hibernate mode to back it up. If you’re serious about keeping the systems on your network backed up, I recommend setting them to wake up. Click Next.
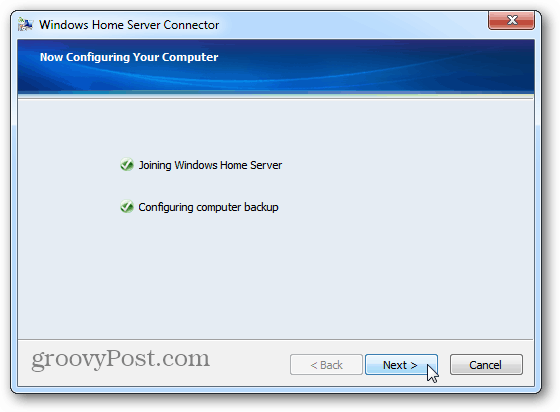
Wait a few seconds while the client computer joins Windows Home Server and backup is configured. Click Next.
Success. Windows Home Server Connector Configuration is complete. Click Finish.
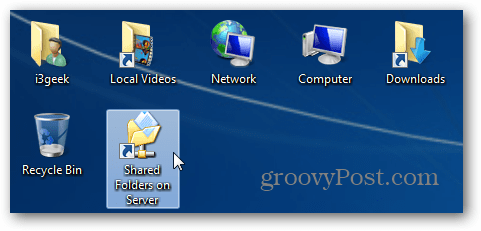
Then you’ll see it put a new shortcut icon on your desktop for shared folder on your server.
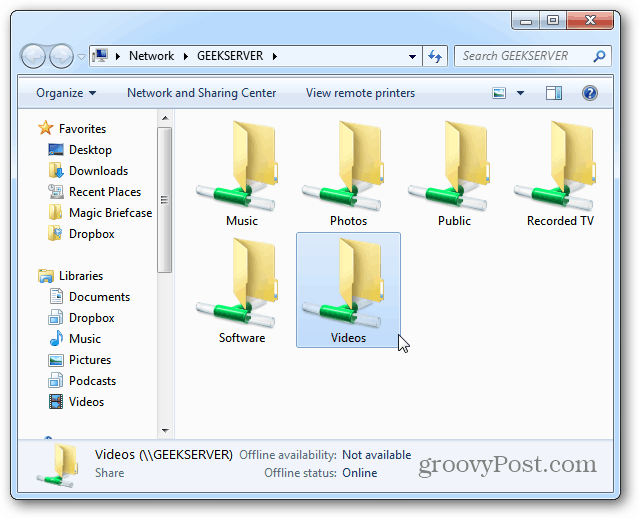
Opening the Shared Folders shortcut gives you access to the shared folders on your home server. Now you can move files and folders between your client computer and server. Groovy! You’re all set. Your PC will be backed up daily to WHS and you can start transferring files and folders between them.
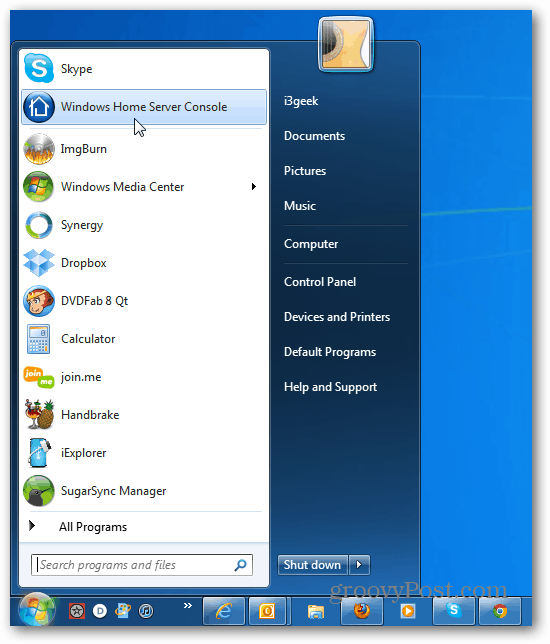
It also installs the Windows Home Server Console. You’ll find it in the Start menu and can pin the icon to your Taskbar in Windows 7.
This is the Remote Desktop like utility you use to manage computers, backups, user account and a lot more on your home server from clients on your network.
Windows Home Server run on the Server 2003 architecture. If you have an extra desktop that isn’t being used, turning it into a home server is an effective way to repurpose it. If you’re running low on server storage space, check out how easy it is to add an external drive to WHS. Comment Name * Email *
Δ Save my name and email and send me emails as new comments are made to this post.


![]()
