Downloading
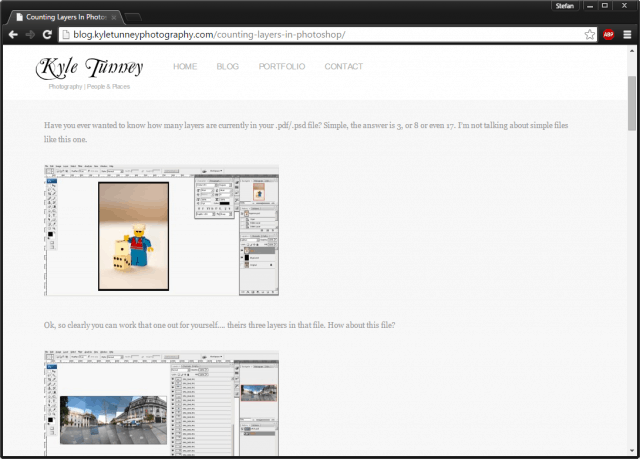
You can click here to directly download the script, or click here to check out the full post about the script, which explains a bit more about how the script works. A few commentators have even shared their own versions of the script with various modifications and tweaks, so there are plenty of options available.
Using The Script
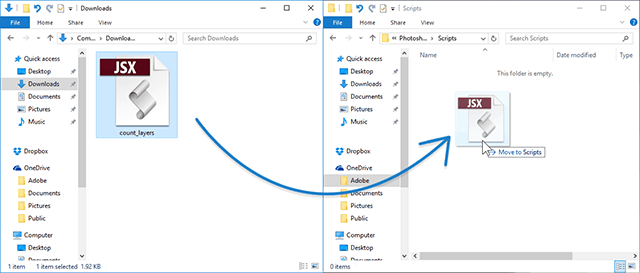
After you download the script, move it to a convenient location you will remember. For this example, I’ll put it in my OneDrive so I know it won’t get lost.
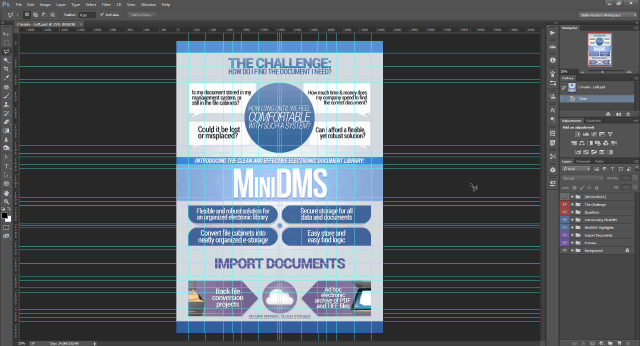
Now all you have to do is open up a PSD with a generous amount of layers and run the script. Here’s what mine looks like:
Yikes! Looks kind of tangled, doesn’t it? And I wish I could remember why I had to use so many guides. Oh, well time to find out how many layers this masterpiece has! To run the script, go to File > Scripts > Browse, locate the script and open it.
You will be prompted if you want to run the script with this the following message — select Yes.
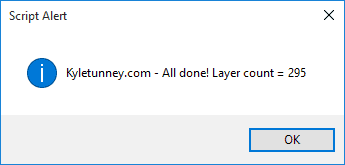
Photoshop might freeze up for a few seconds. If you have a large file with a high resolution and lots of layers, this could even take up to a minute. Simply leave Photoshop to do its thing. The final result should look like the example below.
Woohoo! Nearly 300 layers. And this isn’t even one of my biggest projects. Kyle’s script can be super useful in many scenarios. Whether it’s for designer bragging rights or simple statistical data, this script is a good tool to keep in your accompanying Photoshop folder. Anyway, I think I’m going to go and find out how many layers my largest projects have. Thanks for reading this tutorial and feel free to drop a comment with the maximum number of layers you’ve had in a project. And for more about Photoshop, make sure to check out our archive of guides on using Photoshop. As somebody who exceeds 100 layers in some files I REALLY appreciate this. I just went to download the script and it’s no longer available. Would you mind sharing it again? Comment Name * Email *
Δ Save my name and email and send me emails as new comments are made to this post.
![]()


