In this article we’ll take a look at how you can improve your item photos and why that will attract more buyers. Arm yourself with some patience – the entire camera setup might take a while to put together, but you’ll see it’s all worth it in the end. Let’s begin!
Camera Setup for eBay Listing
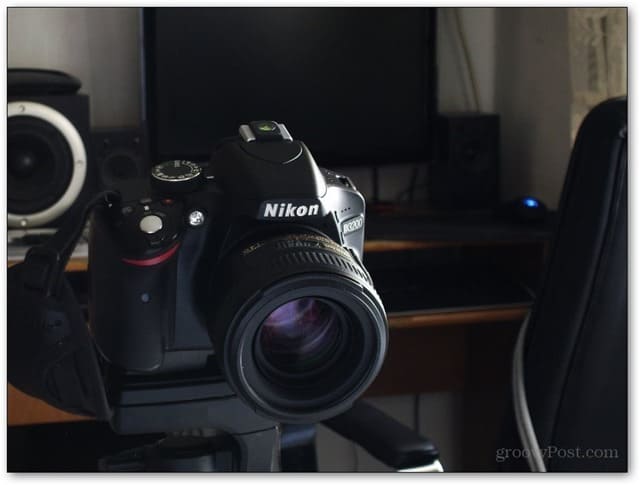
Work with what you have. Whether you adore your DSLR along with its set of high-quality glass, or whether you prefer the good old point-and-shoot, you can take some great images with either. For DSLR Users The best advice I can give you to start off is to use a tripod. For a DSLR, you’ll need a larger tripod, but considering the fact you spent the money on a quality DSLR anyway, spending a bit more on a decent tripod shouldn’t be a problem. And as for those of you who already have one – you know the deal. Set it up according to your work space and make sure the camera is NOT shooting at a Dutch angle.
For Point-and-Shoot Users And as for point-and-shoot users, you can get cheaper $10-$15 tripods. In fact, desktop tripods work really well depending on what you’re shooting. Grab one, screw it on, and provide yourself the extra stability for each shot.
Lighting
A lot of people seem to overlook external lighting. It’s a rather important step to taking a good photograph, and it shouldn’t be neglected. For DSLR Users Have at it – wireless flashes, constant external lighting, diffusers…the list goes on. And for those of you who have a limited supply of lighting, grab a cheap built-in flash diffuser for about $15 and be done with it.
And if you’re not a big fan of flashes, just make sure that higher ISO settings don’t produce too much noise and that your tripod is stable enough for lower shutter speeds. For Point-and-Shoot Users Do NOT use the built in flash. Seriously. I’ve worked with tons of point-and-shoots and none of them have given me the flash results I’ve wanted to see. Get one or two desk lamps with identical light bulbs and light your item from left and right. Optionally, attach or hold a sheet of paper in front of the lamps to soften the light and achieve a more professional look.
Background
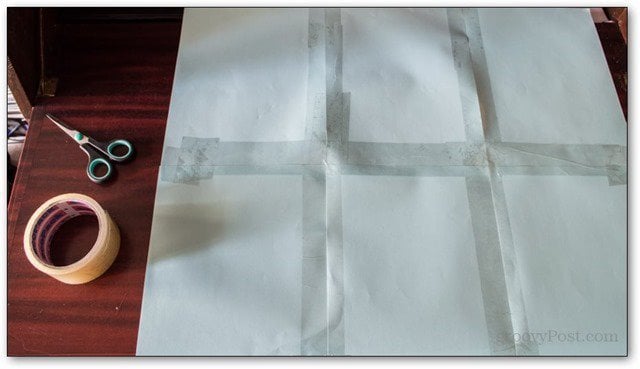
Backgrounds are an important part of any product shot. Regardless of whether you have a DSLR or compact camera, use a big piece of white paper or any other color as your background. If you have limited time or resources, sticking together smaller pieces of paper also works. I stuck six light-blue sheets with some tape for my background. This is what it looks like at the back:
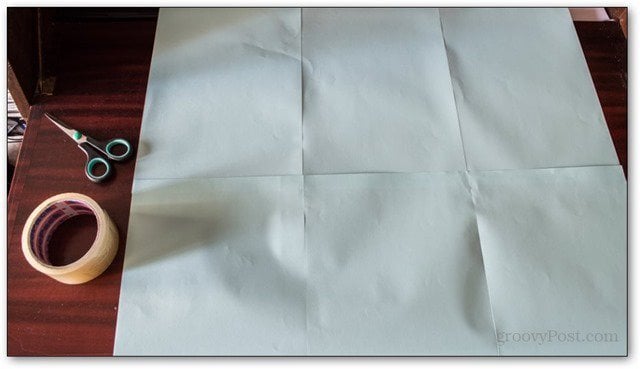
And this is what it looks like at the front: And by the way – don’t worry about those rough edges – we can easily smoothen them out for a more seamless look with Photoshop!
Camera Settings
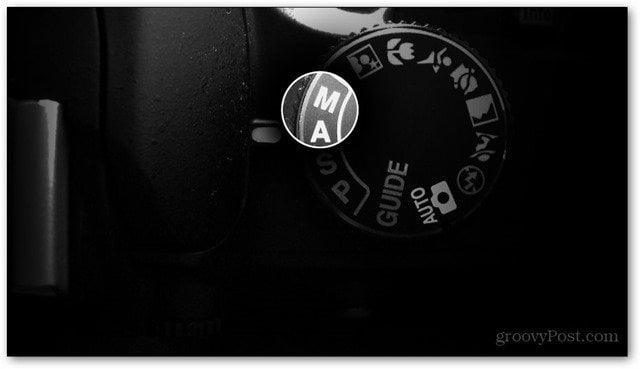
Say NO to auto! Make sure you set your camera to take images with exposures as identical as possible. For DSLR Users I use Manual or Aperture Priority and change the settings based on the type of shot I’m doing — (Modes M and A for Nikon & M and Av for Canon)
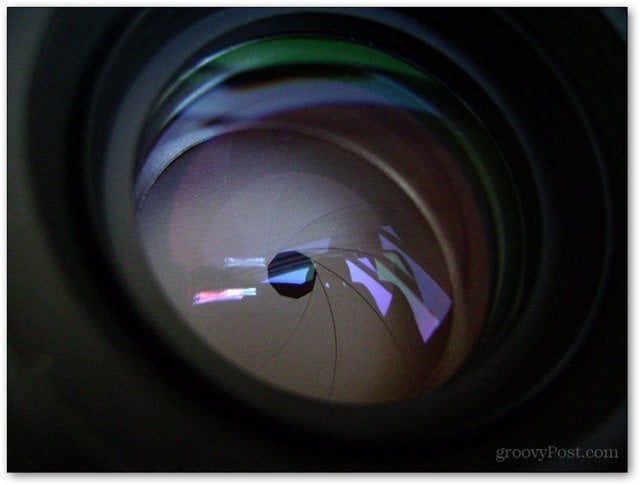
For apertures, I rarely go outside the range between f/2.8 to f/8. Oh, and by the way, if you have no idea what I’m talking about, check out our basics of exposure in photography article. Shutter speeds are irrelevant for this case, since we’re using a tripod. Just make sure it’s nice and stable to avoid motion blur. Finally, I never go above ISO 800 – you don’t really want any noise in your photos, do you?
For Point-and-Shoot Users Some turbo-compacts have aperture priority and manual mode too. If you feel comfortable using those and you know what you’re doing, go ahead. Otherwise, just set the camera to a mode which doesn’t fire the flash – rely entirely on your external lighting.
Shots you need
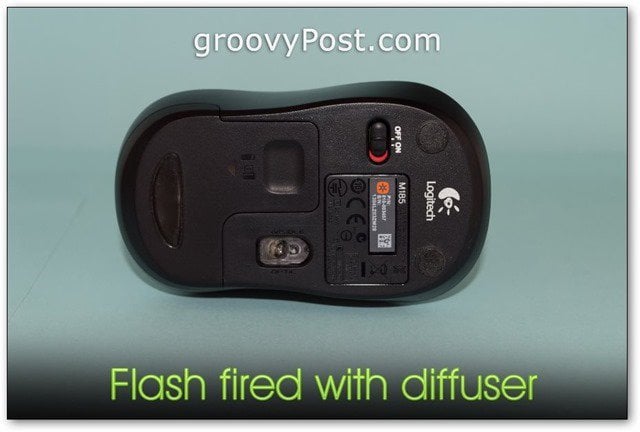
Finally! It’s time to get down to the real deal – the shots themselves! I’ll be using a wireless mouse as my example item. Studio shots Take anywhere from 5 to 10 shots in the small improvised studio we made with external lights and paper. Notice the dramatic difference between a flash fired directly at your subject and a diffused one:
Here are all the studio shots I did of the mouse:
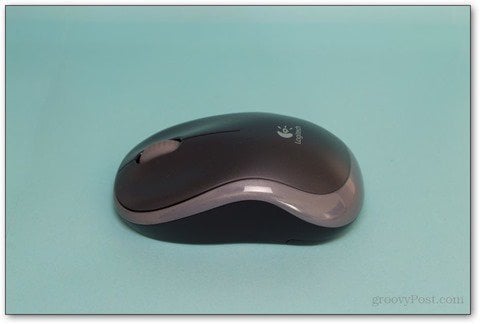
In-Use Shots Think about your item – what exactly are you selling? Human-sized teddy bear? Snap a photo of some children playing with it. V-shaped guitar? Take a photo of someone rocking out with it. Emphasize on how the product is supposed to fit into the person’s daily life. This trick is used by telemarketers and salesmen all the time. No wonder they’re so successful. It’s like a form of legal brainwashing! Here is a stock photo style shot I did of the mouse:
Editing out the imperfections
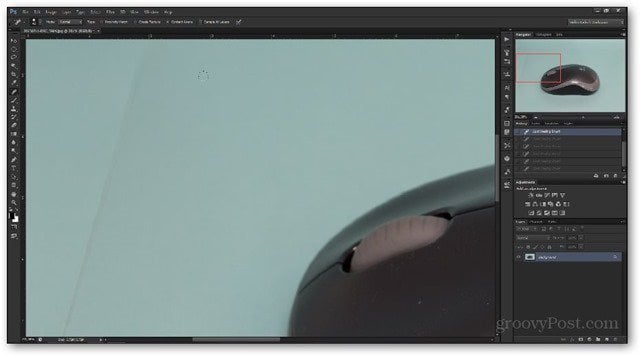
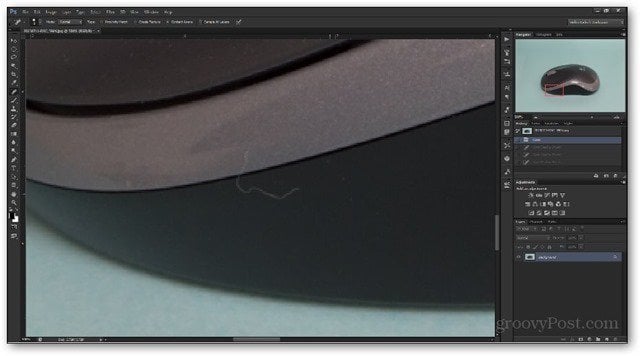
As I mentioned earlier, Photoshop will come in handy to remove those rough edges on your background papers. Load up the image and look for any areas where the separate papers are clearly visible.
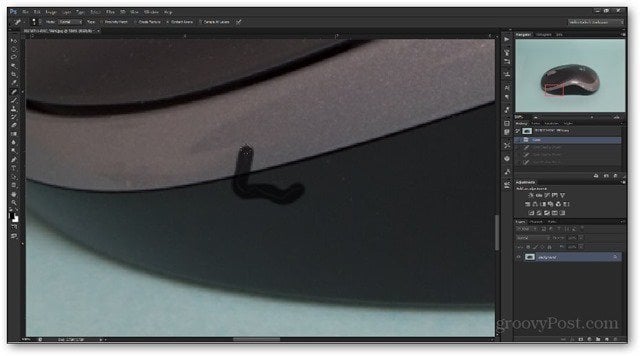
Then, grab the spot healing brush tool, and cover it up.
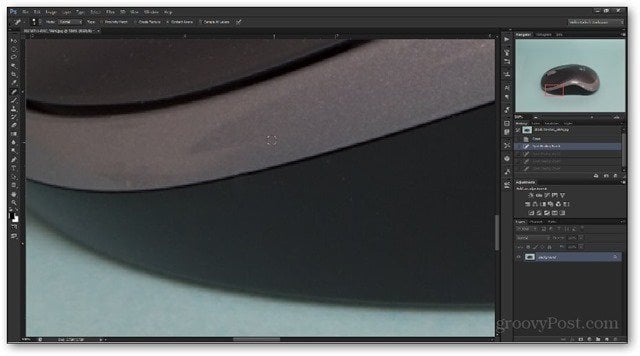
Much cleaner look for the image of your item:
Aside from the background, Photoshop can also help for any imperfections on your actual item. Here’s a pesky hair that somehow got on my mouse.
Follow the same steps with the spot healing brush tool:
Then you’ll have a truly professional looking photo!
Just remember – don’t overdo this part. Cleaning away small specs of dust and tiny hairs is okay, but masking out scratches on the screen of a phone you’re selling isn’t. Don’t cheat, play it fair, and avoid using too much Photoshop. You don’t want to claim your item is pristine, and then get bad ratings as a seller.
Item description
This is probably one of the most important parts. A key element to making the sale is to mention that the photos you uploaded depict the actual item being sold. This way, buyers will know you took the extra time to showcase what you’re selling. That will make them more likely to chose your offer, rather than one that’s $10 dollars, but has blurry photos taken with a phone. As for some additional tips – mention all the item’s exact specifications and link to as many external sources as possible – product reviews, videos, commercials and so on. Also, while tempting, don’t use the stock images eBay offers.
Photo arrangement
I have just one simple tip here — keep the photos flowing along with the description. For example, if you have listed any scratches or faults of the product in the middle of your description, have the photos where those scratches are visible in the middle as well. This helps for a clean and tidy item listing as a whole. Buyers won’t get lost in the images, but will navigate them one by one, just as you intended. Simple, clever, and a very good strategy for any item sale. If the tips in this guide work for you, leave a comment and tell us about your experience! Comment Name * Email *
Δ Save my name and email and send me emails as new comments are made to this post.


![]()
