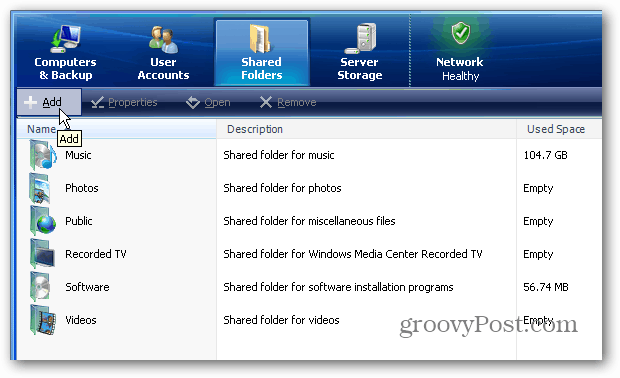
To create a new shared folder, open Windows Home Server Console. Click on Shared Folders then Add on the upper left corner.
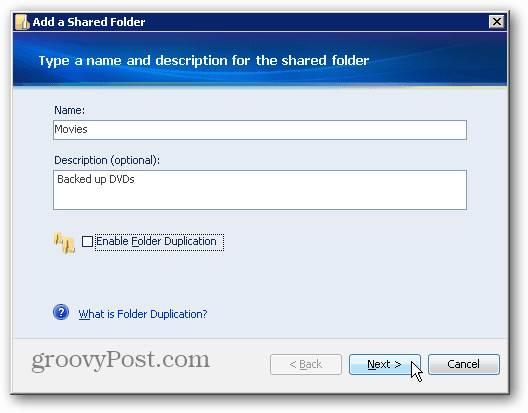
Now give the folder a name and description (optional) for the data you’re storing in it. Here I’m creating on for my backed up movies. Decide if you want to enable Folder Duplication. The benefit of folder duplication is WHS duplicates the data between multiple hard drives. So, if one drive happens to fail, you won’t lose the duplicate on another drive. Remember that enabling duplication will double the amount of space needed on the server. Because these are large movie files, I am not going to enable duplication. If you’re creating a shared folder for important documents, I highly suggest enabling it.
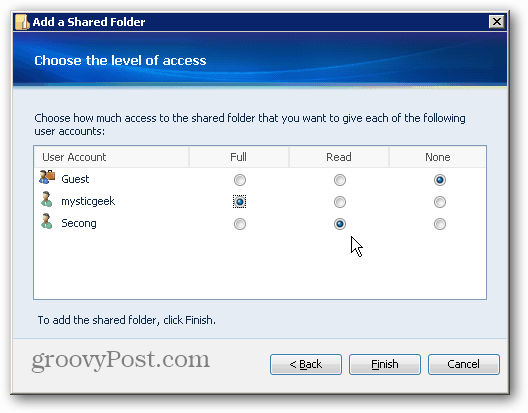
Next, set the access rights users on your network will have. Choose from Full, Read or None. Then click Finish.
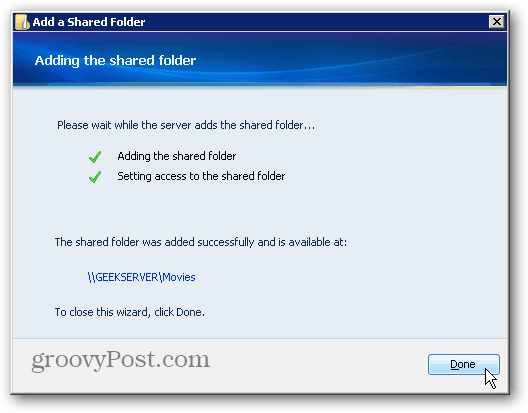
That’s it. Your new shared folder on WHS has been successfully created. Click Done.
Back on WHS Console under Shared Folders the new one you created is listed. From here you can double click any folder to change its properties.
In Properties you can change the name, user access rights, description or enable duplication.
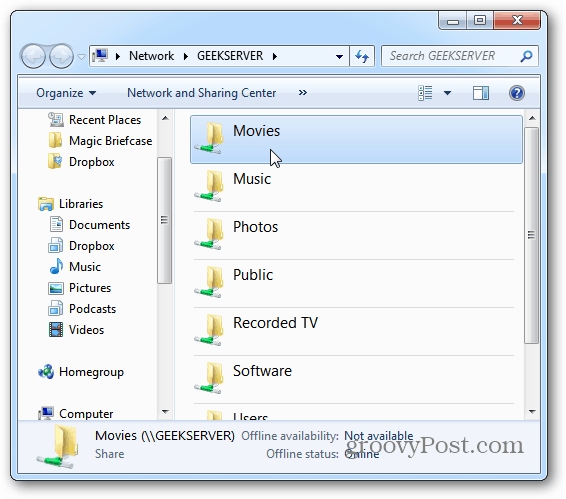
Your newly created folder will also appear in the Shared Folders directory.
Comment Name * Email *
Δ Save my name and email and send me emails as new comments are made to this post.


![]()
