The Problem
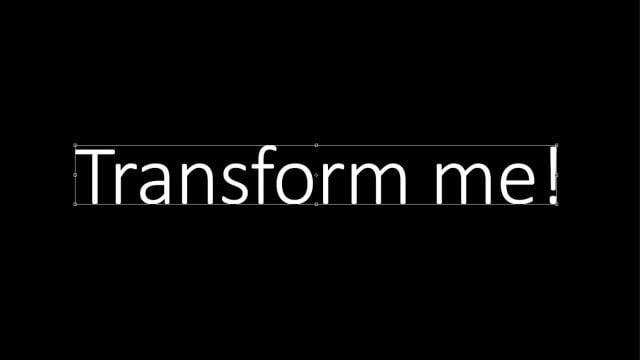
Have you ever tried to Free Transform a text layer and noticed its bounds seem a bit unusual? Perhaps completely inaccurate? If you answered yes, you’re correct! Here’s what text layer transform bounds usually look like:
If you look closer, you’ll see an unusual amount of space at the top and bottom of the line in the image. And even some to the right. This makes transformations and centering inaccurate. So here’s what your bounds should and will look like after you use our little cheat:
Much better, right? Here’s a comparison between the average transform bounds Photoshop suggested and our “cheated” bounds.
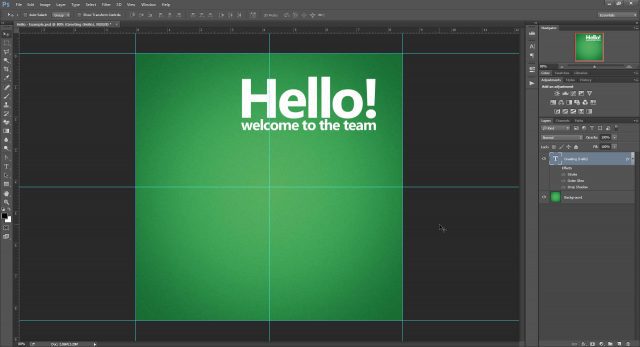
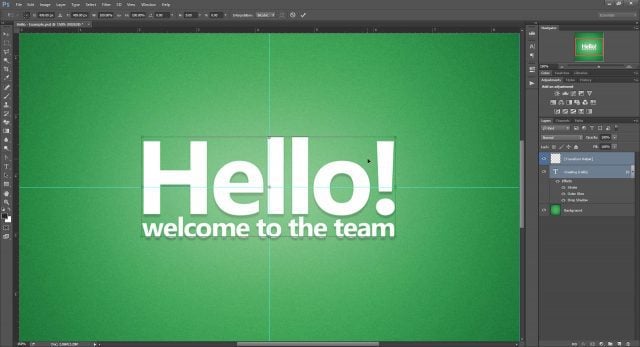
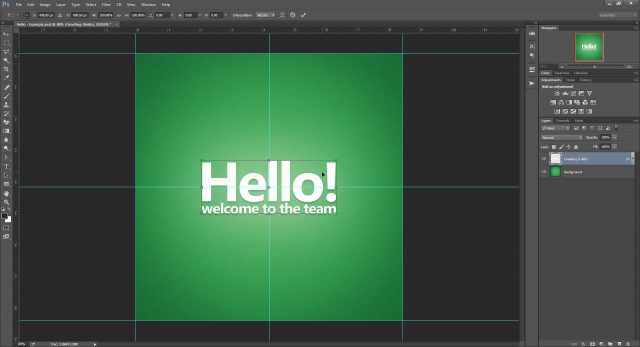
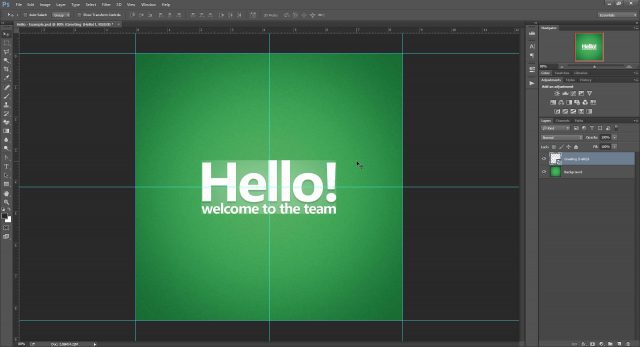
So let’s put this problem in perspective. Here’s a sample Photoshop document. Let’s say I want to put the text exactly in the center.
I’ll start by using the Rulers (Ctrl+R) to add some guides and mark out the exact center of the document. (In case you don’t know how to do that, maybe check out some of our Photoshop tutorials?)
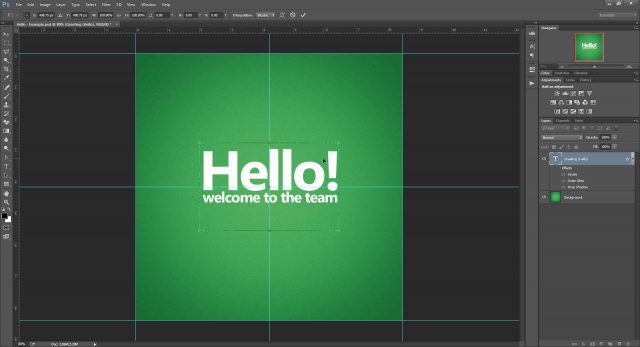
Now let’s try a Free Transform on the layer (Ctrl+T) and see if we can center it. When we try to center the text according to what Photoshop gives us as a center point, we know the transformation is far from accurate. There is a huge gap at the bottom of the text layer, which pushes the bounds way too far. Small (but significant) bound inaccuracies can also be seen at the top and left of the transform box.
Why This Happens
Height
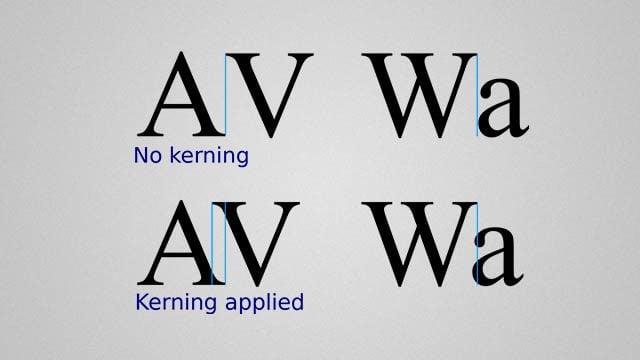
For the knowledge-thirsty out there, here is my take on why Photoshop does this to Text transformations. If this isn’t your cup of tea, feel free to skip to the first solution. In typography, the full line consists of multiple parts (illustrated below).
The word “Sphinx” is a perfect example of how lines in typography work because it includes an uppercase letter, an ascender (h), a descender (p), and characters that fit within the x-height (n, x). But not all words and phrases utilize the entire height of the line. For instance, a word like “zoom” or “runner” would only use the line’s x-height. I created a text layer with “Sphinx,” flushed to the left to illustrate my theory. I then used free transform and placed guides around the transform box bounds. Although the bounding box doesn’t fully adhere to the current font’s line-height, this could be because Photoshop has a predefined height created to work with more extravagant and uncommon typefaces.
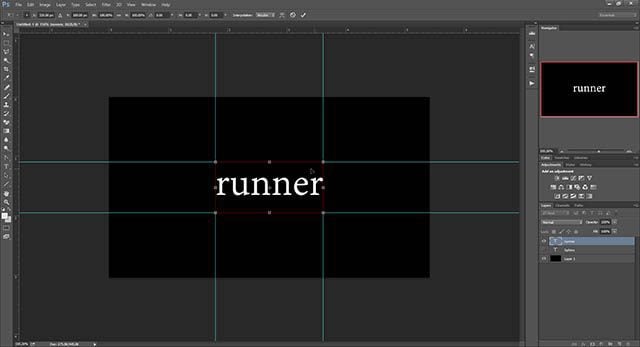
I then duplicated the layer and only changed the contents to the all x-height word “runner.” After Free Transforming again, the bounds were the same.
This tells us that the way typical text transformation works in Photoshop is based on a predefined line. That, along with the default “Auto” setting for leading (line-height), gives Photoshop more and more excuses to have a separate way of creating bounding boxes for text layers.
Width
Aside from inaccuracies in height, our previous “Hello” example also showed some issues with width. So what’s the deal? Aside from keeping things balanced with leading, typographers also have to watch out for tracking and kerning. The former being the collective space between all characters, and the latter being the spacing between a set of letters.
Because of tracking, Photoshop probably adds some extra space at the end of each word. Although not very useful for accuracy, this can be a good thing if you’re planning to add more text later on and want to have a more technical look at how much width your current block of text is taking up. The sample screenshot below shows how Photoshop’s transform bounds insert a tiny space after the full stop, but not before the first letter. This fully coincides with my theory of width inaccuracies and, just like height, gives Photoshop another reason to have a more different text-transform bounding box.
Does this mean that Photoshop’s alternative way of transforming is better than the regular way? Maybe. Whether you call this a “bug” or a “feature,” one thing is for sure – it’s not random, and there has been some thought put into it.
Cheat 01 – Transforming with an empty layer
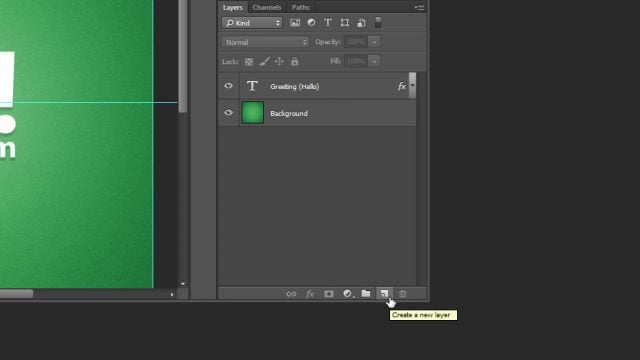
The first method for getting an accurate free transform is modifying your text and an empty layer. I’ll start by Alt+Click-ing the new layer icon in the layers panel.
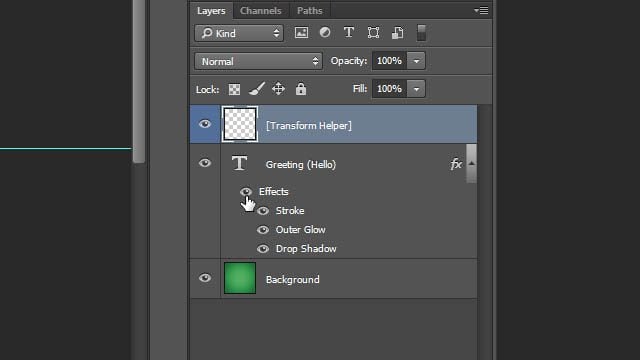
This will then bring up Photoshop’s “New Layer” dialog box. To keep things tidy, name your layer something like “[Transform Helper].” Optionally, add color to make it stand out even more.
Ensure your transform helper is positioned either on top or below the text layer you’ll be transforming. With one layer selected, Shift+Click the second one to add it to the selection.
Then, free transform with Ctrl+T, and you’ll immediately notice the difference – proper bounds that snap right to the edges of our text!
Once you center the text, this time around, it will be 100% focused based on the physical space the text takes up.
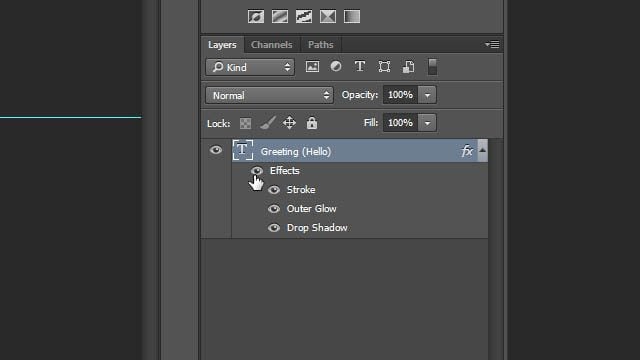
As a bonus, let’s see if this trick will work if we enable several effects on our text layer, including Outer Glow and Drop Shadow.
As you can see, the glow and shadow freely fall right outside the bounding box for the transformation and do not affect it whatsoever. So feel free to use the Blending Options, safe in the knowledge that your trusty transform helper will still work.
But that’s not all! Head on over to Cheat 05 to find out why.
Cheat 02 – Transforming by grouping
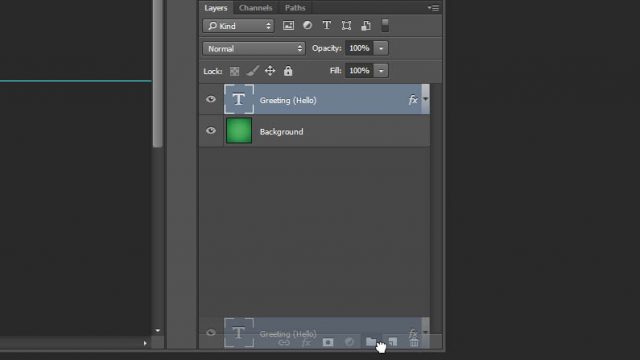
If you don’t fancy creating a layer every time, this second method may be for you. Just drag your text layer to the “New Group” icon (which I frequently call “New Folder”).
And then make sure you’ve selected your group before transforming.
You’ll get the same accurate bounds, ready to snap your text right at the center.
And that’s still not all! Jump to Cheat 05 to find out why.
Cheat 03 – Transforming by rasterizing
This is a method I would not recommend as it turns your text layer into a regular raster one. This means you lose the ability to scale and transform without quality loss. Even worse – you won’t be able to change the content of your text layer afterward. With that said, if all you’re looking for is a quick fix – this solution still works just fine. Right-click your text layer and select Rasterize Type.
Again – a perfect bounding box that doesn’t take into consideration any additionally added effects.
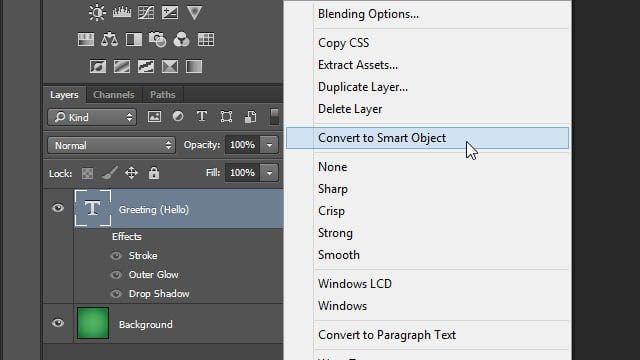
Cheat 04 – Transforming by converting to a smart object
In my eyes, the exact opposite of rasterizing is converting to a smart object. Ironically, this, too, works as a solution to our transformation problem, but partially. Start by Right-Clicking your text layer and selecting Convert to Smart Object.
Press Ctrl+T to transform and, uh-oh! It looks like the smart object is trying to take our massive outer glow inside the transform bounds.
Let’s try that again, but only this time with our effects disabled.
Hooray! Back to the perfect bounding box we know and love from our previous cheats.
But just when you think all is well, let’s try enabling the effects again from inside the smart object.
Beep-boop! Photoshop doesn’t seem to like that, and neither do we. Any effects you apply inside the smart object will be restricted by its initial bounds. The only way to get around this would be to re-apply the effects on the original Smart Object Layer rather than its contents.
To recap, using Smart Objects is probably not the best option when trying to cheat Photoshop text transformations. Regardless, it’s still worth keeping this trick in the back of your head.
Cheat 05 – Bonus!
Gotcha! I’m afraid those are the only four methods I’ve found that allows you to bring back your transformations’ accuracy. But don’t let that discourage you. I’ve decided to speed things up for you by creating Photoshop Actions for my two favorite methods – Transform Helper and Grouping! Use the buttons below to download:
Comment Name * Email *
Δ Save my name and email and send me emails as new comments are made to this post.


![]()
