If you take a lot of recordings, these large files can start to fill up your local drive in a hurry. Especially if your system has a SSD with limited capacity. The game DVR captures folder is located on your local drive in the Videos folder. But changing the location of that default folder will help you with disk space management and still let you use the Game DVR feature to its full potential.
Change Game Captures Folder Location
To move the folder to a drive with more space, open C:\Users%username%\Videos by navigating there manually or pasting the path into the Run dialog (Windows Key + R).
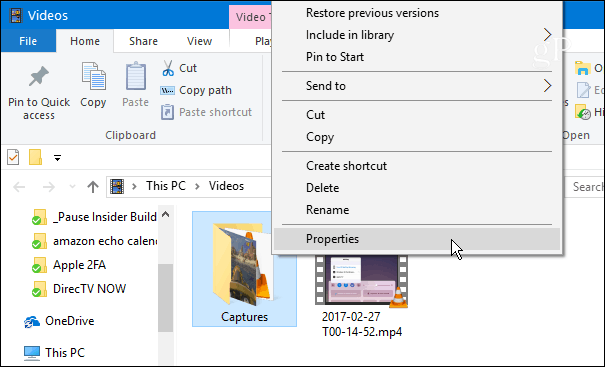
Then right-click the Captures folder and select Properties.
Next, click the Location tab at the top and then the Move button under the folder’s path field.
Now browse to the location where you want to store the captures folder. Obviously, the best option is to choose a beefy external drive or a network location if you have a network-attached storage (NAS) device. Or, in my case, I’m using my Windows Home Server. Yes, I am still rocking WHS 2011 on my home network. 😊 Once you choose an alternate location, click OK, and then Yes on the verification dialog message that pops up.
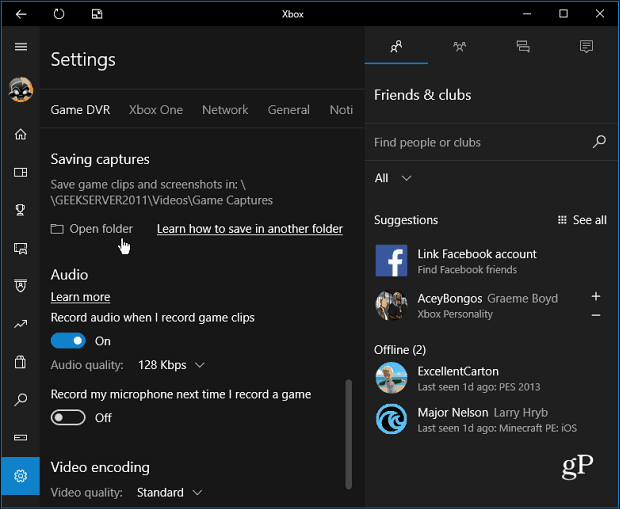
Once it’s done you can verify the location has been changed by opening the Xbox app. Then go to Settings > Game DVR and verify the new path under the Saving Captures section. Note that here you can also open the folder directly to see your recorded clips and screenshots.
When it comes to Gaming on Windows 10 it has a lot of advantages compared to previous Windows versions. And now you’ll be able to enjoy one of the coolest features, recording your gaming moments, without worrying about running out of drive space. Do you like to record all your gaming moments with the Game DVR? What do you think about the new Windows 10 gaming features in general? Leave a comment below and let us know about them. Hit the windows key and type regedit navigate and change “Computer\HKEY_CURRENT_USER\Software\Microsoft\Windows\CurrentVersion\Explorer\User Shell Folders” ight click on {EDC0FE71-98D8-4F4A-B920-C8DC133CB165} and then click modify set the correct target location While you are there check the data tab for the other shell folders you might have missed when you migrated folders from your SSD.. Exit and reboot Comment Name * Email *
Δ Save my name and email and send me emails as new comments are made to this post.


![]()
