At groovyPost, we accompany all of our how-tos and reviews with ample screenshots. For screenshots, TechSmith’s Snagit is our tool of choice. But we’ve also been working on more video content as well. Camtasia, which is also made by TechSmith, seemed like a logical product to take for a spin. In this review, we’re looking at Camtasia 3 for Mac, but they also have a Windows version with the same functionality.
What is Camtasia?
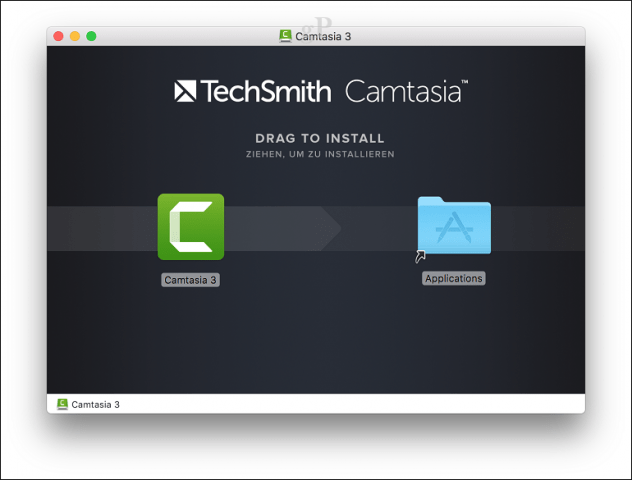
Camtasia is a screen recording tool you can use to capture high-quality video, which you can then edit or incorporate in tutorials or presentations or upload to a website such as YouTube or Screencast.com. Camtasia is not free—the software can be bought standalone for $199 or bundled with the Snagit screenshot tool for $225. You can download a fully functional 30-day trial to get a feel of how the software works. While preparing this review using version 2, I found out Camtasia released version 3, which is even better. Installation is quick and easy; launch the DMG file, accept the end user license agreement, then drag and drop the Camtasia icon to the Applications folder.
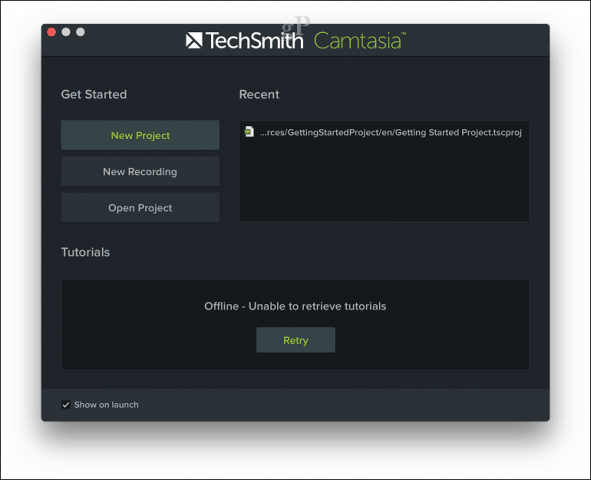
You can find the Camtasia app in your Applications folder or within Launchpad. Users are greeted by a projects dialog where you can start or open a recent project. The new project dialog also lets you jump right into recording.
The Camtasia interface is reminiscent of a video editor such as iMovie. On the left is the assets and effects pane; the viewer lets you review your captured content. A media bin lets you import existing recordings, clips, audio or pictures into your project. At the bottom is the timeline, which lets you control the length of your recordings and add different clips and effects.
With no prior experience, I was able to get up and running in a short amount of time with no help from a manual or tutorial; the interface is pretty much self-explanatory. Camtasia does include an extensive library of training material if you want to learn about using all the features in depth. You can always hover over a button or menu to find out what it does. Camtasia provides an integrated experience; not only can I record a video of the interface, but I can accompany it with audio too. Using your Mac’s built-in mic, you can explain how something works while showing how it’s done.
Recording Video
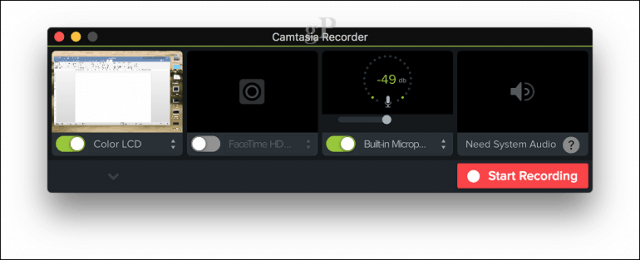
When you are ready to record content, click the red record button in the upper-left corner of the window; this will present a small dialog with options you can modify depending on the target device. For instance, you can record a full-screen project—best for viewing on a screen such as a computer or TV—or you can target a device such as the iPhone or iPad. You can also define camera settings, for example, if you would like to include an on-screen inset video of yourself to accompany your narration.
When you are ready to record, hit the start recording red button. Camtasia will then perform a countdown. This will add a film strip system icon to the menu bar. Once your screen starts recording, you can start performing any action as you normally would, and Camtasia will record your screen.
What I discovered while testing out the software is that you should have a predefined script of what you want to cover. You would be surprised how nervous you can be even in your own bedroom with nobody watching. In my case, initially, when the recording started, my mind was all over the place. I wanted to show how to enable the Focus Mode in Word 2016 for Mac. Along the way, I forgot the option was under the View tab. So, it’s not a bad idea to go through a dry run or write down some bullet points before you hit record. If you plan to add a voice over, it also helps to have your thoughts scripted; you can easily do this on your smartphone’s note taking app or scribble it on a notepad. When you are done, click the filmstrip icon in the notification area of the global menu bar then click Stop Recording. When you are ready to record again, you can go back to the menu, then click Start Recording. If there is some adjustment you need to make, you can always pause the recording then start again.
Editing Your Video
Recorded video is automatically added to your project where you can begin editing. As you can probably imagine, even your best take will need some editing. For example, you might want to cut out the part before you launch the application you are demonstrating, or you might want to cut the part at the end where you’re stopping the recording. The timeline helps you make these edits easily. You can trim a video by placing the mouse pointer on the opposite ends, which you then drag in until a desired start and ending point is found. Trimming your recorded video can create some gaps; not to worry, just use shift + click to select your video along with any added effects then drag it to to the beginning of the timeline.
One of the things I like a lot about Camtasia is that you can make your video as precise as possible. A built-in cropping tool lets you define the exact dimensions of your video. This is especially great if you have a lot of on-screen clutter you forgot to minimize or want to remove from the finished video.
Advanced Options
A properties tab provides options for fine-tuning the quality of your video and audio. You can resize your video, which is great if you want to add something like closed captions at the bottom or top. Options are also available for modifying the rotation and position of video clip such as the z, y, and x-axis. Audio can also be adjusted, which is great if it’s too high or low during recording. Camtasia includes an assortment of tools and effects to make your video look professional. Users should use them sparingly to avoid distracting from the content of your message. The effects panel includes a variety of transitions you can use to make your scenes look smooth and effortless.
Saving and Sharing Your Project
When you are ready to show the world your recording, Camtasia makes it super easy. Just click the green Share button at the top right corner then choose from one of the available options, which includes: as a local file, Techsmith’s own Screencast.com, YouTube, Google Drive or Microsoft OneDrive.
Conclusion
Is it worth the price? $199 can seem like a lot, but the major version numbers don’t become obsolete; when you have a version of Camtasia, you can stay at the version you’re on and still have a great product (similar to Microsoft Office). Also, it was about five years between the release of Camtasia 2.0 and Camtasia 3.0. You, of course, get all the point updates for free. That said, the app can be handy for a variety of users. Whether you want to create tech tutorials for mom across the country or a teacher in a classroom who wants to keep students engaged or an engineer providing a training at the workplace, Camtasia fits the bill. If you need a professional video editor with a little more meat than iMovie, it’s an excellent option. Windows users, in particular, should look into Camtasia as an alternative to Movie Maker which is no longer under development. While using the app this past couple of weeks, I had reasonable expectations from Camtasia, given TechSmith’s reputation. But Camtasia 3 turned out to be more than I expected. It provides an easy to use out of box experience that lets you focus on communicating your demonstrations with no learning curve. The app is more than just a recording tool for creating demos. Users can expect to use it in numerous ways, which include editing regular videos or recording audio. Version 3 is even nicer to use, featuring a sleeker user interface that’s well organized without feeling overwhelmed by features. I highly recommend giving the Camtasia 30-day free trial a whirl. Have you used Camtasia 3 or any other versions? Tell us about it in the comments. Camtasia 2 doesn’t do crap either. It won’t convert to MOV, MP4 or anything else. It cost a lot of money & yet, they still want you to upgrade to something you can’t see. Why is it all in a BLACK BACKGROUND??? It’s hard to see & work in. There should be one button that lets you lighten the whole thing at once. I can’t seem to find a version of Camtasia 3 at all anywhere but I will because I need it for my training projects. This is something Camtasia never thought of. But I bet they will when we start a mutiny of their products just like there’s a mutiny of Adobe right now. Many are going back to QuarkXPress and some are moving forward with other software. Comment Name * Email *
Δ Save my name and email and send me emails as new comments are made to this post.


