First download Miro for Windows, Linux or OS X if you don’t have it already.
Miro Installation
Installation is easy, just run the installer and click next a few times. But, keep an eye out for an optional sponsored software install it tires to install. When I ran it, the installer tried to put AVG Security Toolbar on my computer, and that’s NOT okay. This is another occasion when good software comes bundled with crapware to help the company stay profitable. Fortunately, you can just uncheck the install box and continue by saying “No Thanks.”
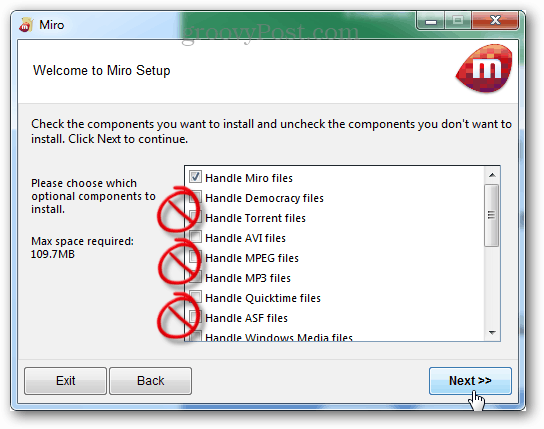
Also during install Miro will ask to handle file associations for a number of different file types. While it does have the ability to play video and music, I don’t recommend using Miro for anything other than downloading streams. So on this screen uncheck all of the file types, except Miro files.
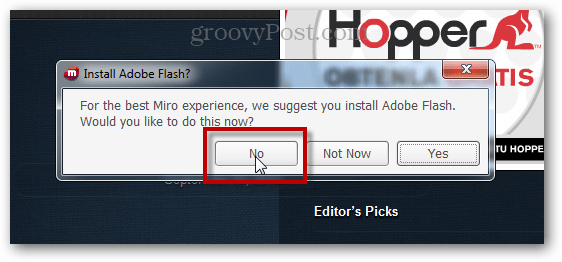
And one last annoyance. When Miro is fully installed, the first time you launch, it asks to install Adobe Flash directly on your computer. This is NOT needed (especially if you use Google Chrome), so click No when prompted.
Automatically Downloading YouTube Channels
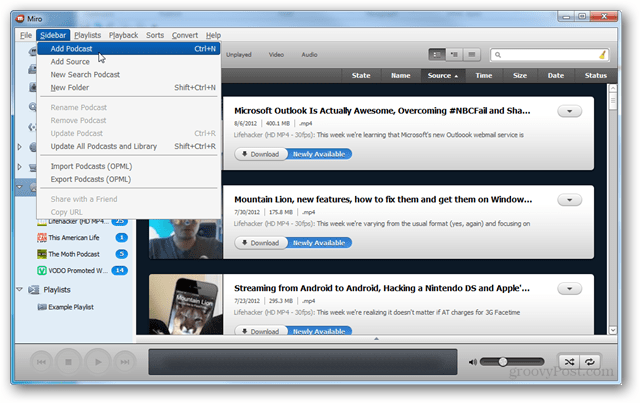
To automatically download current and new videos from a YouTube channel, it takes about three seconds of configuration in Miro. From the menu at the top choose Sidebar » Add Podcast.
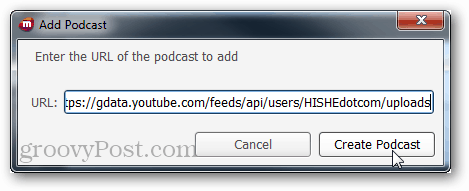
Next enter the URL of the YouTube channel’s feed. The feed URL is unique to each channel’s YouTube username. For example if I want the feed from the “How it Should have Ended” channel I would enter the following: https://gdata.youtube.com/feeds/api/users/HISHEdotcom/uploads For other channels just change the username portion to match up with the desired YouTube username.
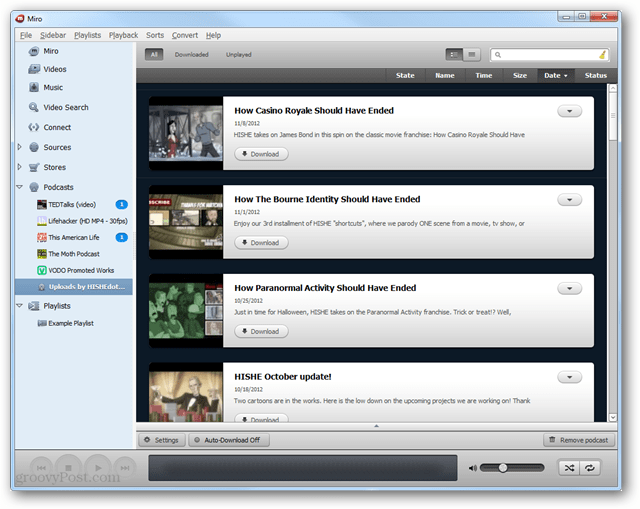
Videos will show up in the Podcast list and can be set to download automatically.
While you’re in here, be sure to grab the groovyPost channel feed to stay up to day with our TechGroove podcast. It can be found at: https://gdata.youtube.com/feeds/api/users/groovypost/uploads
Miro has three settings for automatically downloading videos from feeds that you’ve added. This option can be changed by clicking the button at the bottom of the feed window.
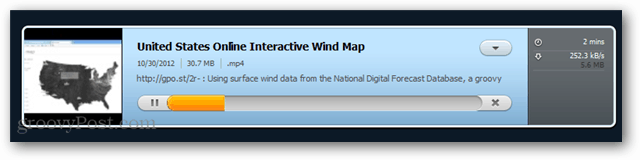
Videos downloaded will by default be in MP4 format, so they’re ready to throw on you iPhone, iPad or virtually any other device to watch later. While downloading the video, the video file size, download speed and estimated time of completion is displayed.
Downloaded videos are stored in the C:\Users\yourusername\Videos\Miro folder by default. The easiest way to get to this folder is to choose “Show File in File Explorer” option from Miro on the right side of a video that you’ve downloaded.
Comment Name * Email *
Δ Save my name and email and send me emails as new comments are made to this post.


![]()
