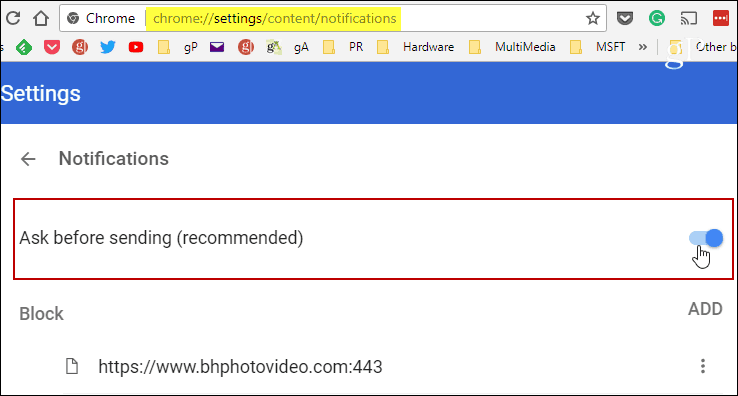
Stop All Website Notification Requests
While you could go through a series of menus, here is the easiest way to get to the Notification settings you need to manage. Open Chrome and type: chrome://settings/content/notifications into the address bar and hit Enter. Then flip off the “Ask before sending” switch and close out of Settings.
That’s all there is to it. Restart the browser, and now, moving forward, when you visit a page that wants to pop up a notification request, it will simply be rejected by default and you won’t see the pop up at all. Now, there might be a site or two where you want the desktop notifications – Outlook.com, for example. In this same section, you can manage how individual site notification requests behave. Scroll down a bit and you will first see a list of sites you have already blocked notifications. Click the ellipsis at the right of each site on the list and you can choose Allow, Edit, or Remove. If you “Remove” a site from the list, it will reset the notifications requests permissions for that site. That means you could potentially see the notification pop up on a site you had previously blocked.
Scroll down a bit further and you will see a list of Allowed sites. For each site on this list, you can choose between Block, Edit, or Remove. And, if you really like precision control, you can manually add a specific site to either the allowed or blocked list. Also, the Edit option allows you to type in a specific URL.
Comment Name * Email *
Δ Save my name and email and send me emails as new comments are made to this post.
![]()


